Imagine standing in a bustling Brazilian kitchen, the air filled with the irresistible aroma of freshly baked cheese bread. Pão de Queijo, a beloved Brazilian staple, is more than just a snack—it’s a cherished tradition. These delightful cheese puffs are not only a testament to Brazil’s rich culinary history but also a symbol of warmth and hospitality, often shared among family and friends during gatherings.
Historical Roots and Cultural Significance
Pão de Queijo has its roots deeply embedded in Brazil’s colonial past. Originating in the state of Minas Gerais, this cheese bread began its journey in the 18th century. During this time, Portuguese settlers introduced the African slaves to cassava, a starchy root that thrives in the Brazilian climate. The slaves would use cassava flour, also known as tapioca flour, as a base for many dishes due to the absence of wheat. Over time, the creative fusion of this flour with local cheeses led to the creation of Pão de Queijo. Today, these cheese puffs are a staple at Brazilian breakfast tables and snack times, embodying a spirit of resilience and creativity.
Unique Ingredients and Flavors
What sets Pão de Queijo apart is its simplicity and the use of naturally gluten-free tapioca flour. This gives the bread its characteristic chewy texture, contrasting the crusty exterior that forms during baking. The choice of cheese is crucial, and Minas cheese is often used, a local variety known for its mild yet tangy flavor. However, parmesan or mozzarella can be delightful substitutes, each lending its unique character to the puffs. The magic happens when the cheese melts, infusing each bite with a rich, savory flavor that is both comforting and addictive.
Cooking Techniques
Crafting the perfect Pão de Queijo requires a few simple yet essential techniques. First, heating the milk, oil, and salt before mixing them with the tapioca flour is key to achieving the right dough consistency. This step should not be rushed—it’s the secret to that perfect chewy texture. Kneading in the eggs and cheese creates a smooth, pliable dough ready to be shaped into balls. Baking them in a hot oven ensures they puff up beautifully, forming golden halos that are a feast for the senses.
Making Pão de Queijo is not just baking bread; it’s connecting with Brazilian culture and savoring flavors that have been perfected over generations. Whether enjoyed with a cup of coffee or as an accompaniment to a main course, Pão de Queijo promises a taste of Brazil in every bite.

Brazilian Pão de Queijo
Description
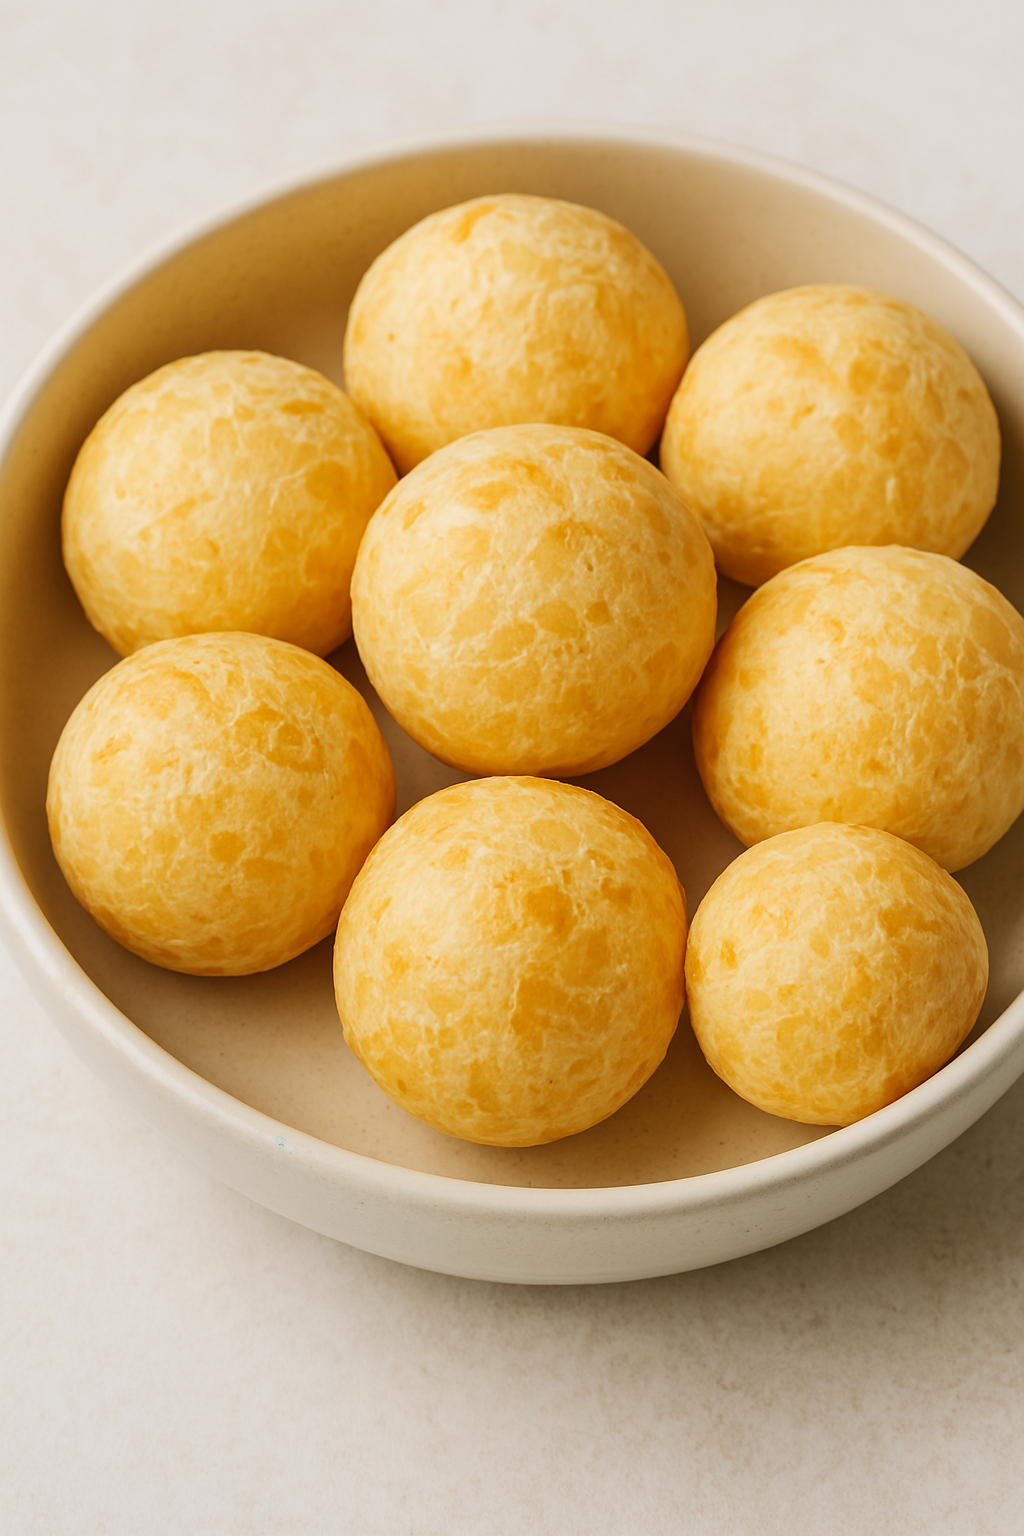
Brazilian Pão de Queijo is a gluten-free cheese bread that's crispy on the outside and chewy on the inside, featuring the rich flavors of Parmesan and tapioca flour.
Ingredients
Dry Ingredients
Wet Ingredients
Eggs and Cheese
Instructions
Preparing the Dough
-
Gather the Ingredients
Ensure you have all the ingredients ready: tapioca flour, milk, oil, salt, eggs, and cheese. Measure them accurately for best results.Using freshly grated cheese can enhance the flavor and texture of the Pão de Queijo. -
Heat the Liquid Mixture
In a saucepan, combine milk, oil, and salt. Heat over medium heat until the mixture is nearly boiling, stirring occasionally to prevent sticking.This step helps to gel the tapioca flour later, giving the dough its unique texture.
Mixing the Dough
-
Combine Tapioca Flour
In a mixing bowl, pour the hot milk mixture over the tapioca flour, stirring with a wooden spoon until well combined. Let it cool slightly.The dough will appear gummy, which is normal, and it should cool enough so it doesn't cook the eggs in the next step. -
Incorporate Eggs and Cheese
Add eggs one at a time, mixing well after each addition. Fold in the grated cheese until the dough is uniform and smooth.For a more intense cheese flavor, mix different types of cheese like mozzarella and Parmesan.
Shaping and Baking
-
Shape the Dough
Preheat your oven to 375°F (190°C). Using damp hands or an ice cream scoop, form small balls of dough and place them on a baking sheet lined with parchment paper.Keeping your hands damp prevents the sticky dough from adhering to your skin. -
Bake to Perfection
Bake in the preheated oven for 20-25 minutes, or until the Pão de Queijo are puffed and golden brown.Avoid opening the oven early to ensure the bread puffs properly.
Serving and Storing
-
Serve Warm
Enjoy the Pão de Queijo warm, straight from the oven, for the best texture and flavor.They're perfect as a snack or alongside a meal, and pair beautifully with coffee or hot chocolate. -
Storing Leftovers
Store any leftovers in an airtight container at room temperature for up to 2 days. Reheat in the oven for a crisp exterior.Freezing the dough balls before baking is a great way to enjoy fresh Pão de Queijo anytime.
Note
For a delightful twist, incorporate additional cheese varieties like Parmesan or Pecorino Romano to the traditional Minas cheese for a more robust flavor profile. Consider using a blend of sweet and sour tapioca starch if you prefer a chewier texture. Achieve an even bake by spacing the dough balls apart on the baking sheet to allow for optimal heat circulation. To ensure a consistent outcome, use a kitchen scale for measuring ingredients, particularly the tapioca flour, as it can vary in density. For a gluten-free variation, ensure all ingredients, particularly the cheese, are certified gluten-free. If you wish to make ahead, assemble the dough balls and freeze them on a tray. Once frozen, transfer to a sealed bag or container; they can be baked from frozen, just add a couple of extra minutes to the baking time.