
Creating a designer-inspired cake is like painting a masterpiece on a canvas, combining flavors, textures, and colors to craft a delightful treat that not only pleases the palate but also captivates the eyes. This recipe is not just about baking a cake; it’s about creating an edible work of art that reflects creativity and skill. Let’s dive into the world of designer-inspired cakes and unlock the secrets to making a show-stopping dessert that will leave everyone in awe.
The Art of Designer Cakes
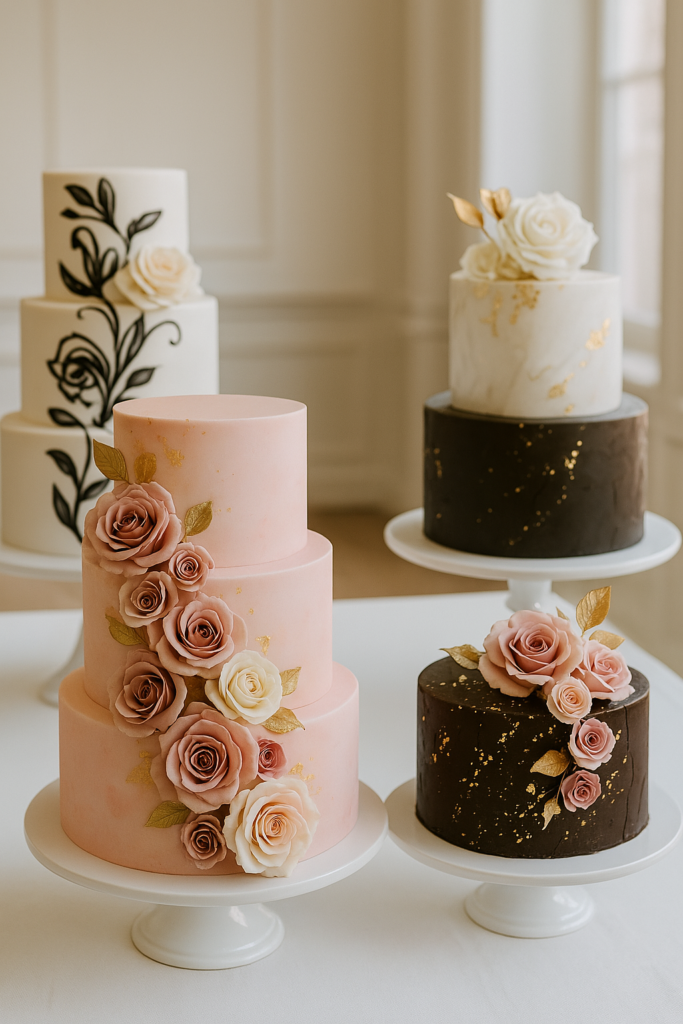
Designer cakes have been a symbol of celebration and artistry for centuries. From elaborate wedding cakes to whimsical birthday creations, these cakes are more than just desserts—they are expressions of joy and creativity. Each designer cake tells a unique story, showcasing the baker’s imagination and craftsmanship. The magic lies in the intricate details, from delicate fondant decorations to hand-piped buttercream flowers, every element meticulously placed to create a stunning visual impact.
Origin and Evolution
The concept of designer cakes dates back to ancient civilizations where elaborate desserts were reserved for royalty and special occasions. Over time, this art form has evolved, blending traditional techniques with modern trends to create cakes that are not only delicious but also visually stunning. Today, designer cakes are a popular choice for weddings, birthdays, and other celebrations, with bakers pushing the boundaries of creativity to bring their clients’ dreams to life.
Ingredients and Flavors
Creating a designer-inspired cake requires a mix of high-quality ingredients and a creative flavor palette. From rich chocolate ganache to tangy fruit compotes, the possibilities are endless. The key is to balance flavors and textures to create a harmonious taste experience. Pairing unexpected flavors like lavender and lemon or salted caramel and dark chocolate can elevate a simple cake into a gourmet masterpiece. Don’t be afraid to experiment and let your taste buds guide you.
Cooking Techniques and Tips
The secret to a successful designer cake lies in the details. From leveling and stacking layers to achieving smooth buttercream finishes, each step plays a crucial role in creating a professional-looking cake. Invest in quality tools like offset spatulas, piping bags, and turntables to make the decorating process easier. Practice piping techniques and experiment with different decorating styles to find your signature look. Remember, patience and precision are key when it comes to creating a designer cake.
Now that we’ve unlocked the secrets to designer-inspired cakes, it’s time to roll up our sleeves and get baking! Follow the step-by-step instructions below to create your own masterpiece that will impress your friends and family.
Designer-Inspired Cake Recipe: A Feast for the Senses
Indulge in a decadent designer-inspired cake that harmonizes flavors and textures in a symphony of sweetness. Perfect for celebrations or simply treating yourself to a slice of edible art.
Ingredients:
– 2 cups all-purpose flour
– 1 ½ cups sugar
– 1 tsp baking powder
– ½ tsp baking soda
– ¼ tsp salt
– 1 cup unsalted butter, softened
– 3 large eggs
– 1 cup buttermilk
– 1 tsp vanilla extract
– Assorted food coloring gels
– Fondant for decoration
Instructions:
1. Preheat your oven to 350°F (180°C) and grease three 9-inch round cake pans.
2. In a mixing bowl, whisk together the flour, sugar, baking powder, baking soda, and salt.
3. Add the softened butter and mix on low speed until the mixture resembles coarse crumbs.
4. In a separate bowl, whisk together the eggs, buttermilk, and vanilla extract.
5. Gradually add the wet ingredients to the dry ingredients, mixing until just combined.
6. Divide the batter evenly among three bowls and tint each with a different food coloring gel.
7. Pour the colored batters into the prepared cake pans and bake for 25-30 minutes or until a toothpick inserted in the center comes out clean.
8. Allow the cakes to cool in the pans for 10 minutes, then transfer them to a wire rack to cool completely.
9. Once cooled, stack and frost the cakes with your favorite frosting.
10. Roll out fondant and cut out shapes to decorate the cake, letting your creativity shine.
11. Serve and enjoy your designer-inspired masterpiece!
Pro Tips:
– For a smoother finish, crumb coat the cake with a thin layer of frosting before adding the final layer.
– Experiment with different flavor combinations and decorations to personalize your designer cake.
– Chill the cake between frosting layers to prevent crumbs from getting into the frosting.
FAQs
How should I store a designer cake?
To preserve the freshness and appearance of your designer cake, store it in an airtight container in the refrigerator. Bring it to room temperature before serving for the best taste and texture.
Conclusion: Bake Your Masterpiece
Now that you’ve uncovered the art of designer cakes, it’s time to unleash your creativity in the kitchen. Whether you’re a seasoned baker or a novice enthusiast, this recipe is your canvas to create a one-of-a-kind dessert that will dazzle and delight. So, gather your ingredients, preheat your oven, and let the magic of baking take you on a delicious journey. Share your creations, swap tips, and revel in the joy of baking designer-inspired cakes with your fellow food enthusiasts. Happy baking!
Designer Inspired Cake Recipe
Ingredients
Cake Batter
Frosting
Decoration
Instructions
Preparation
-
Preheat the oven
Preheat your oven to 350°F (180°C) and grease and flour three 8-inch round cake pans.Ensuring the oven is properly preheated helps the cakes bake evenly. -
Prepare the ingredients
Take out the butter, eggs, milk, and other ingredients from the refrigerator to bring them to room temperature.Room temperature ingredients blend together more smoothly for a perfectly textured cake.
Making the Cake Batter
-
Cream the butter and sugar
In a large mixing bowl, cream together the softened butter and sugar until light and fluffy.Creaming the butter and sugar properly is key for a light and airy cake. -
Add eggs and vanilla
Add the eggs one at a time, beating well after each addition. Mix in the vanilla extract.Adding the eggs gradually ensures a smooth batter without curdling. -
Mix dry ingredients
In a separate bowl, sift together the flour, baking powder, and salt. Gradually add this to the wet ingredients, alternating with the milk.Alternate adding the dry ingredients and milk prevents overmixing. -
Bake the cakes
Divide the batter evenly between the prepared cake pans. Bake in the preheated oven for 25-30 minutes or until a toothpick inserted into the center comes out clean.Avoid opening the oven door frequently to prevent the cakes from sinking.
Assembling and Decorating
-
Cool the cakes
Allow the cakes to cool in the pans for 10 minutes, then transfer them to a wire rack to cool completely.Cooling the cakes properly ensures they are easy to work with during assembly. -
Layer the cakes
Place one cake layer on a serving plate, spread a layer of frosting on top, and repeat with the remaining layers.Using an offset spatula helps create smooth and even layers of frosting. -
Decorate the cake
Frost the top and sides of the cake with the remaining frosting. Add any decorations or design inspired by your favorite designer.Get creative with your decorations to make your designer-inspired cake truly unique.
Note
- For a vegan version, substitute the eggs with flax or chia eggs and use plant-based milk and butter.
- To enhance the flavor, add a splash of rum or brandy to the batter.
- Experiment with different food coloring to achieve the perfect designer-inspired look.
- If you prefer a lighter texture, sift the flour before adding it to the batter.
- Ensure all ingredients are at room temperature for a smoother batter consistency.
- To make the cake gluten-free, use a gluten-free flour blend or almond flour.
- Decorate the cake with edible flowers, fresh fruits, or chocolate shavings for an elegant touch.
- Store the cake in an airtight container at room temperature for up to three days or in the refrigerator for up to a week.