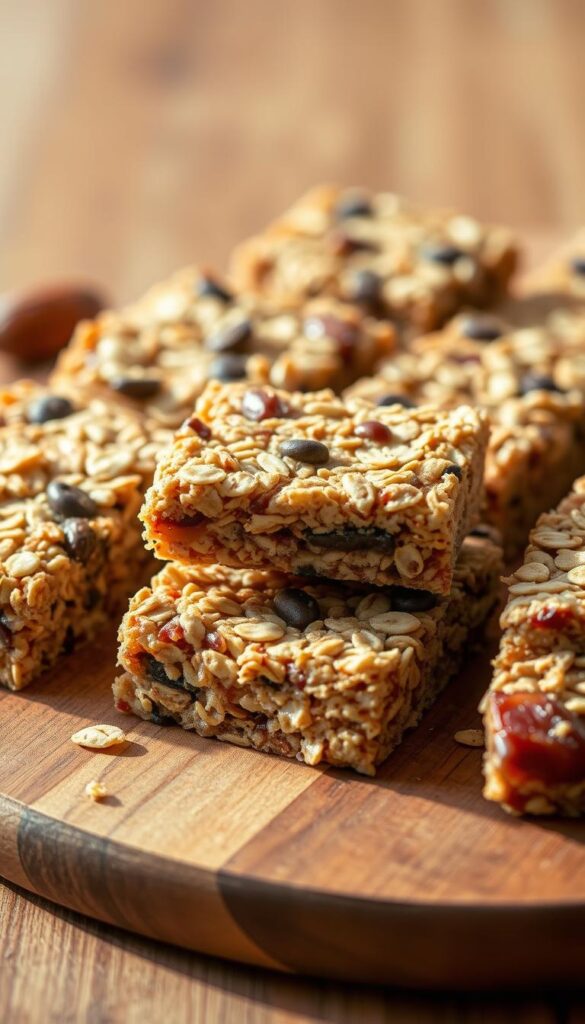
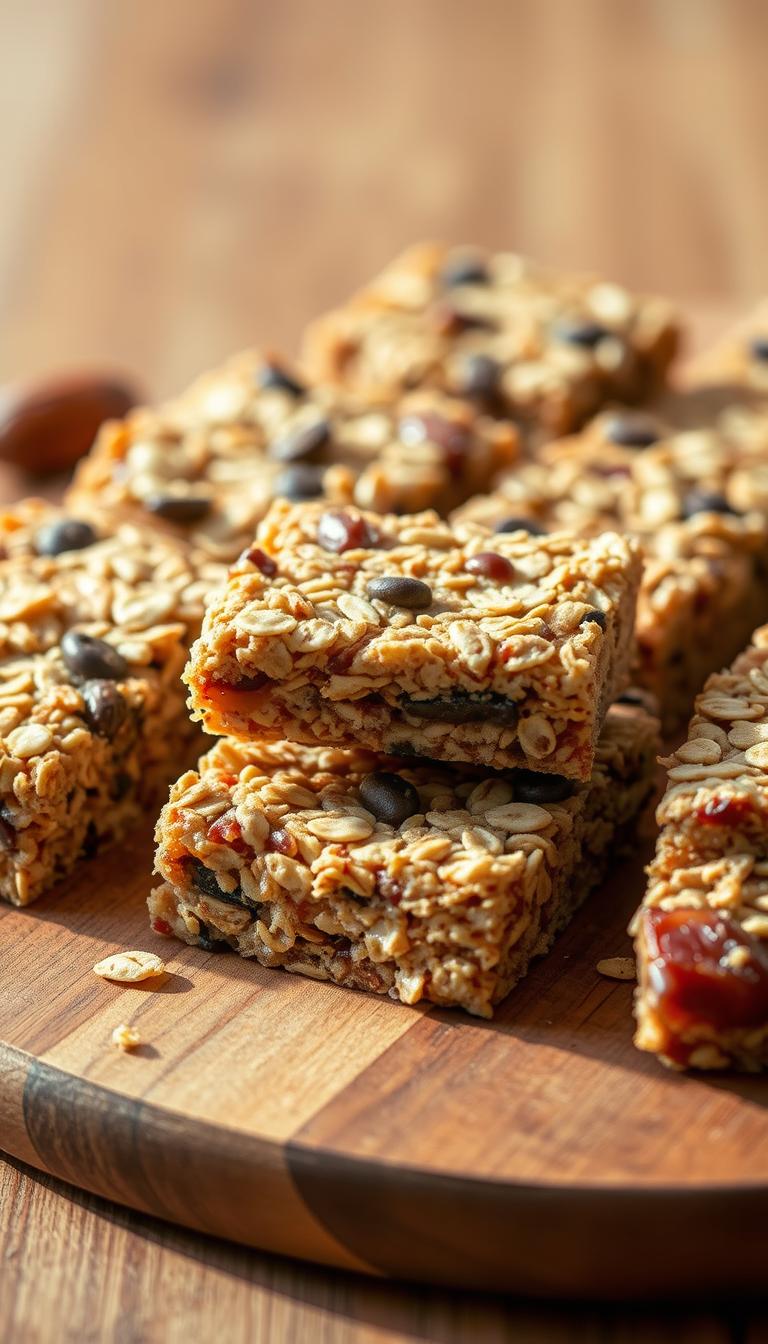
No-bake date and nut Bars are a delightful fusion of natural sweetness and crunchy satisfaction, offering a perfect snack for any time of the day. These bars capture the essence of simplicity with a rich blend of dates, nuts, and a hint of spice. They are not only easy to make but also packed with nutrients, making them a guilt-free indulgence that satisfies both your taste buds and your health goals.
Origin and Inspiration
These bars have their roots in the Middle Eastern tradition, where dates have long been cherished for their natural sweetness and energy-boosting properties. Often referred to as “nature’s candy,” dates have been a staple in these regions for centuries, not only for their delightful taste but also for their nutritional benefits. The no-bake concept comes from the need for quick, nutritious snacks that could be prepared without the hassle of an oven, making them perfect for hot climates where cooking over a flame isn’t always desirable.
Ingredients and Flavor Profile
The magic of these bars lies in their simplicity and the harmonious blend of textures and flavors. Dates provide a chewy sweetness that is perfectly balanced by the rich, buttery crunch of nuts, typically almonds or walnuts. A touch of sea salt accentuates the sweet and savory interplay, while a dash of cinnamon or cardamom adds an aromatic depth that takes these bars to a whole new level. This combination creates a taste experience that is both satisfying and intriguing, with layers of flavor that unfold with each bite.
Techniques and Tips
Creating these bars involves no baking, which means they are incredibly easy and fast to prepare. The key is to finely chop the dates and nuts, allowing them to bind together seamlessly. A food processor can be your best friend here, pulsing the ingredients until they form a sticky, cohesive mixture. Pressing the mixture firmly into a lined pan ensures that the bars hold their shape once set. For an extra touch of indulgence, you might consider topping them with a drizzle of dark chocolate or a sprinkle of shredded coconut. These little tweaks can elevate your bars from simple snacks to gourmet treats, ready to impress even the most discerning of palates.

No-Bake Date & Nut Bars
Description
These bars combine dates, nuts, and a hint of spice for a chewy, nutritious snack that's quick and easy to prepare.
Ingredients
Base Ingredients
Flavor Enhancers
Optional Add-Ins
Instructions
Preparing the Ingredients
-
Gather and Measure the Ingredients
Start by gathering all your ingredients on the countertop. You'll need pitted dates, mixed nuts, a dash of vanilla extract, and a pinch of salt.Using fresh, plump dates will make the mixture easier to blend and add natural sweetness to the bars. -
Toast the Nuts
Place your mixed nuts in a dry skillet over medium heat and toast them for about 5 minutes, stirring often until they're fragrant and lightly golden.Toasting the nuts enhances their flavor and adds a delightful crunch to your bars!
Blending the Mixture
-
Combine Dates and Nuts
In a food processor, combine the pitted dates and toasted nuts. Pulse until the mixture is sticky and holds together when pressed between your fingers.If the mixture seems too dry, add a teaspoon of water or more dates to achieve the right consistency. -
Add Flavors
Add a dash of vanilla extract and a pinch of salt to the mixture. Pulse a couple of times to evenly distribute the flavors.The vanilla adds a subtle aroma, while the salt balances the sweetness of the dates.
Forming the Bars
-
Prepare the Pan
Line a square baking dish with parchment paper, leaving overhangs on the sides for easy removal later.Using parchment paper prevents sticking and makes it easier to lift the bars out of the pan. -
Press the Mixture
Transfer the date and nut mixture into the prepared pan. Use your hands or a spatula to press it down firmly and evenly.Packing the mixture tightly ensures the bars hold together well once cut.
Final Touches
-
Chill the Bars
Place the pan in the refrigerator for at least an hour to let the bars set and firm up properly.Chilling is crucial for achieving the perfect texture, so don't skip this step! -
Cut and Serve
Once set, use the parchment overhang to lift the mixture out of the pan. Cut into bars of your desired size and enjoy!Store any leftovers in an airtight container in the fridge for up to a week.
Note
For a smoother texture, use Medjool dates, as they are plumper and more caramel-like. If the dates are dry, soak them in warm water for 10 minutes, then drain. Toasting the nuts beforehand intensifies their flavor—spread them on a baking sheet and toast in a preheated oven at 350°F (175°C) for 8-10 minutes. Ensure the nuts cool completely before processing. If the mixture seems too sticky, add extra oats or a handful of shredded coconut. For an added layer of flavor, consider incorporating a pinch of sea salt or a splash of vanilla extract. When pressing the mixture into the pan, use parchment paper to prevent sticking and ensure even distribution. Refrigerate the bars for at least an hour before cutting to achieve clean, neat edges. These bars store well in an airtight container in the fridge for up to two weeks, or freeze for up to two months. For an indulgent twist, drizzle with melted dark chocolate or sprinkle with cacao nibs before chilling.

